SAFETY JOURNAL FOR GIPFEL WEDGE ROCK ANCHOR BOLTS
NOTE: Here we are only talking about the wedge type expansion bolts.
How do rock anchors fail?
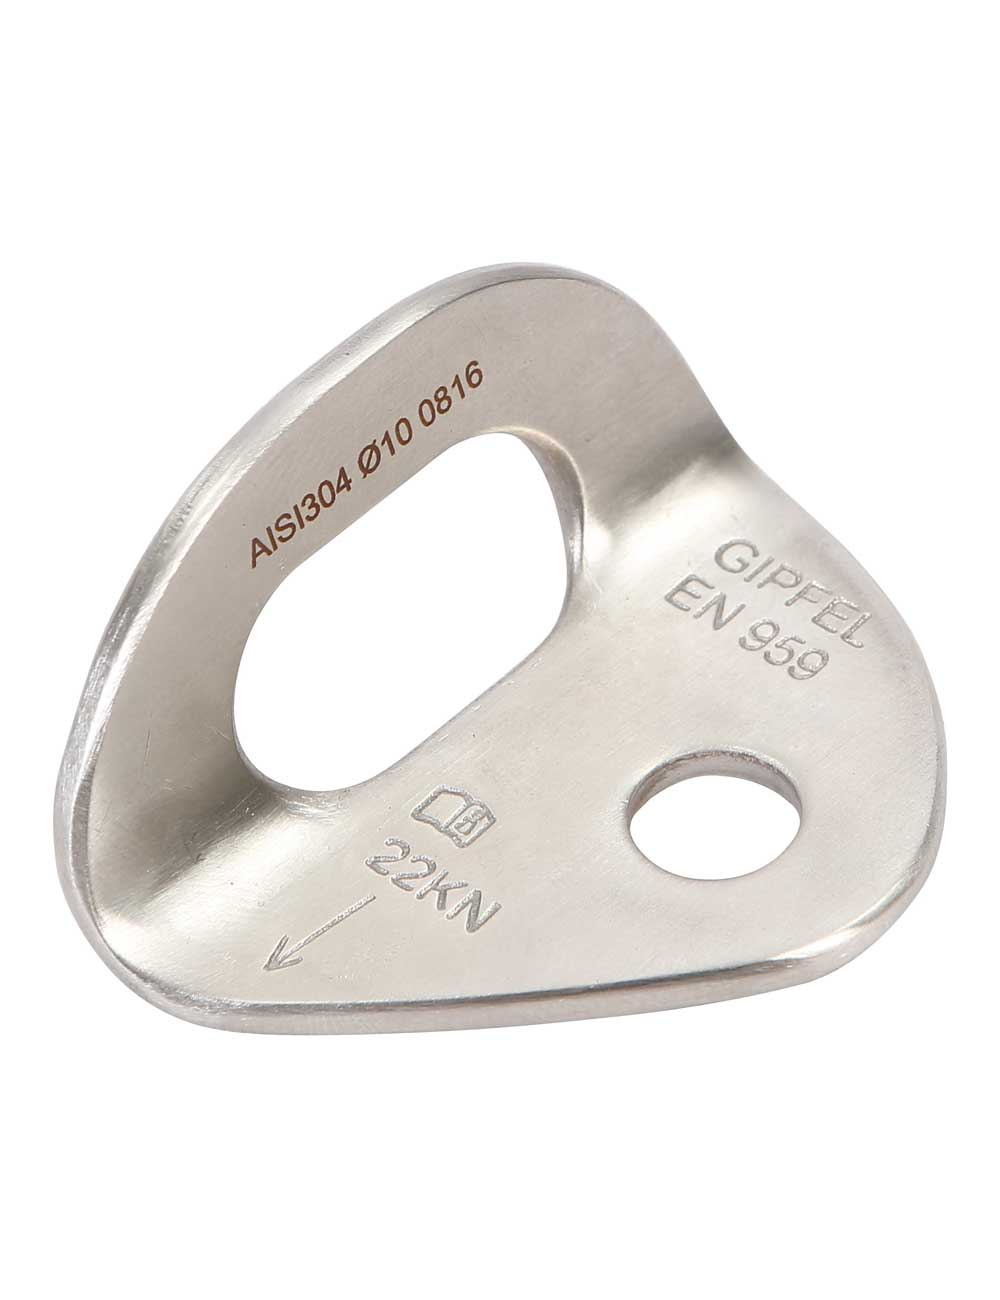
A rock anchor assembly mainly comprises of a Hanger and a Bolt.
Rock Hangers that are made from Stainless Steel (304 or 316) are very likely to have a minimum breaking strength of 25-28kN. Gipfel Dynamo anchors are rated at 25kN but in actual they may not break until they are loaded till 28kN. It is highly unlikely that a falling climber will ever achieve this kind of load. So, a hanger breaking is not our concern.
Anchor bolts, however, are. The most commonly used wedge bolts in climbing are M10 and M12 of varying lengths. The Tensile and Shear strengths of a reasonably made Wedge Anchor bolt will be above the breaking strength of the Hanger itself. So one may think they do not have to worry about anything while bolting a new rock. Sadly, this is not the case.
A wedge bolt is only as strong as the rock it is holding on to. If the rock crumbles too soon, the wedge anchor can pull off from the rock at lower loads.
In order to understand this, let’s see how a bolt works.
Installing a Wedge Bolt
After drilling an appropriate sized hole in the rock, one needs to hammer the bolt inside it. When hammering it inside, make sure that it does not become flush with the surface of the rock. There must be just enough threads left outside the rock surface to mount the hanger, washer and the nut. Now tighten the nut. When you do so, the wedge bolt is pulled outside the rock with each turn. This causes the innermost tapering wedge part of the bolt to pull outside and pass through the expanding sleeve causing it to expand. This expansion causes the wedge sleeve to push against the surrounding rock surface. Now the friction between the sleeve and the rock surface caused by this action is solely responsible for the holding force of the anchor.

What if the rock is soft?
If the rock is weak, flaky or crumbly, then the holding force discussed above will be too much for the rock to bear. Upon application of load, the bolt may crack the rock surrounding itself and thereby releasing the anchor.
Lets see how this works

When a bolt is subjected to an Axial Load, a shear force acts on the concrete or rock surface in a form of a cone.
PULL OFF STRENGTH OF THE BOLT = SHEAR STRENGTH OF THE CONCRETE CONE.
THE SHEAR STRENGTH OF THE CONCRETE CONE IS DIRECTLY PROPORTIONAL TO THE SURFACE AREA OF THE CONE AND THE COMPRESSIVE STRENGTH OF THE ROCK.
YOU OBVIOUSLY CANNOT CHANGE THE COMPRESSIVE STRENGTH OF THE ROCK YOU ARE CLIMBING ON, BUT YOU CAN INCREASE THE SURFACE AREA OF THE CONE BY USING A BIGGER BOLT LIKE M12. DOING THIS WILL INCREASE THE SHEAR STRENGTH OF YOUR CONCRETE CONE.
Using a bigger bolt (larger diameter and bigger length) will increase the shear strength of the concrete by increasing the surface area of the shear cone. An increase in length will increase the ‘H’ value, hence, increasing the surface area of cone. A bigger diameter will in turn increase the vertex angle of the cone, thereby again increasing the surface area of the cone.
TESTING OF M10 AND M12 BOLTS ON DIFFERENT CONCRETE TYPES
In order to test the suitability of our M10 and M12 bolts on different rock types and to prove the above, we ran tests on several samples of concrete with varying Compressive Strengths. At the end of the test we had wasted 25 bolts but the results were very informative.
For the sake of convenience, we will only discus the results of the test we ran on a ‘weak’ sample of concrete with compressive strength of just 11MPa as well as on a ‘strong’ concrete with 50MPa compressive strength (as specified by UIAA).
The pull out strength of our bolts in different concretes are given below.

THIS TABLE SHOWS AVERAGE PULL OUT STRENGTHS OF THE GIPFEL BOLTS IN DIFFERENT CONCRETE TYPES. UIAA’S MINIMUM REQUIREMENT IS 15kN BUT ON 50MPa CONCRETE.
DO’s AND DON’Ts while placing an anchor bolt
Here are a few guidelines that although not complete points out major important things to bear in mind while bolting a new route.
- INSPECT THE ROCK QUALITY
If the rock seems flaky and crumbly, do NOT place an anchor there. Look for another area.
- CHOOSING AN APPROPRIATE BOLT
If the rock is a softer kind such as Limestone and Sandstone, NEVER use the M10 bolts. Use M12 for soft and medium strength rocks. M10 is only suitable for high compressive strength Granite and Gneiss rocks.
- PLACEMENT OF BOLTS
The distance between two successive bolts should be at least a distance equivalent to 15 times the diameter of the bolt. Also any bolt should at least be 20 times the diameter of the bolt distance apart from any blind edge of the rock. Not doing so can reduce the strength of the cone.
- LENGTH OF DRILLED HOLE
The length of the drilled hole must at least be equal to the full length of the bolt. If the bolt can no longer be used, you can hammer it all the way inside the rock and make it flush with the rock surface so that it doesn’t protrude out.
- CLEANING THE DRILLED HOLE
The drilled hole must be properly cleaned from debris and dust before placing the bolt inside it. The dust and debris can reduce the holding friction between the expanding sleeve and rock surface.
Thanks, it’s very informative
Thanks to the great guide